The files for these photographs are fairly large, so
those with slow
Internet connections will have to be patient.
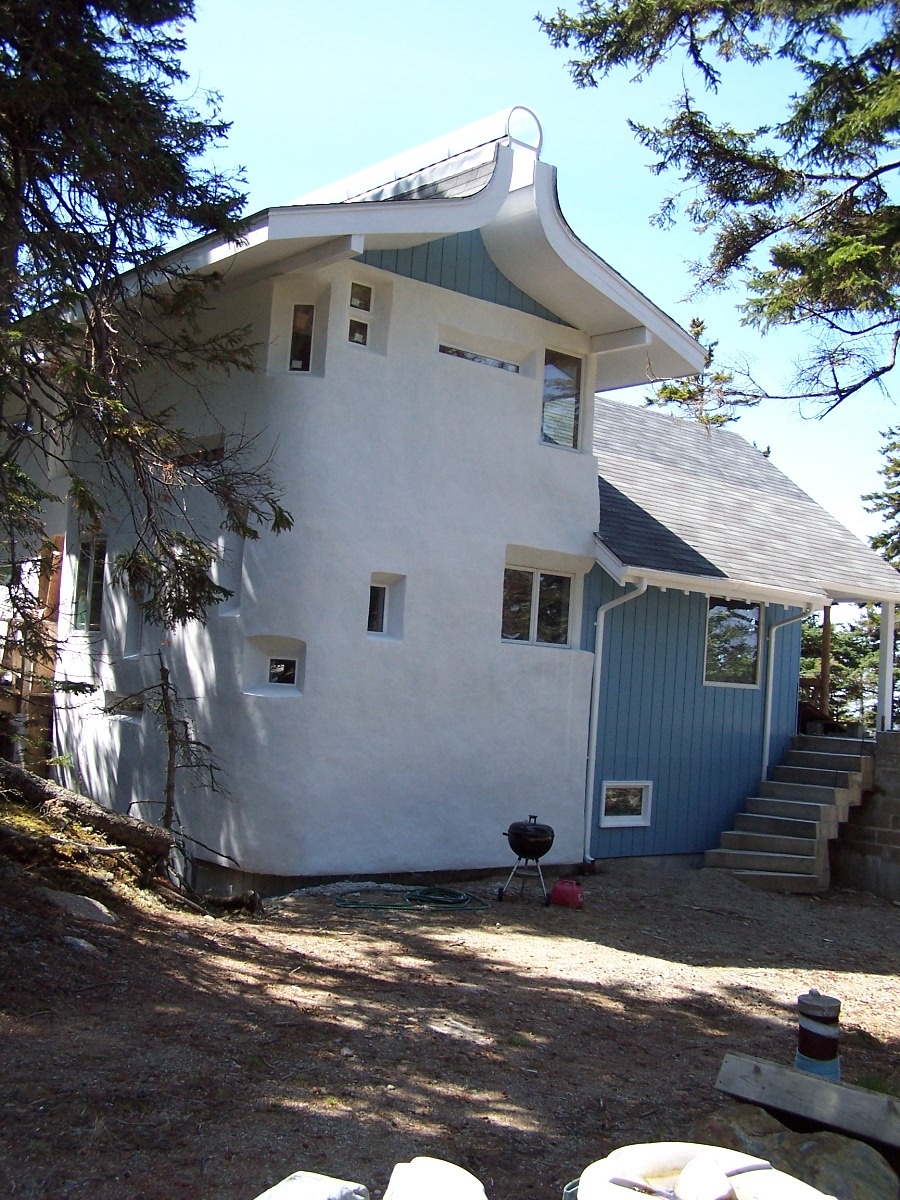
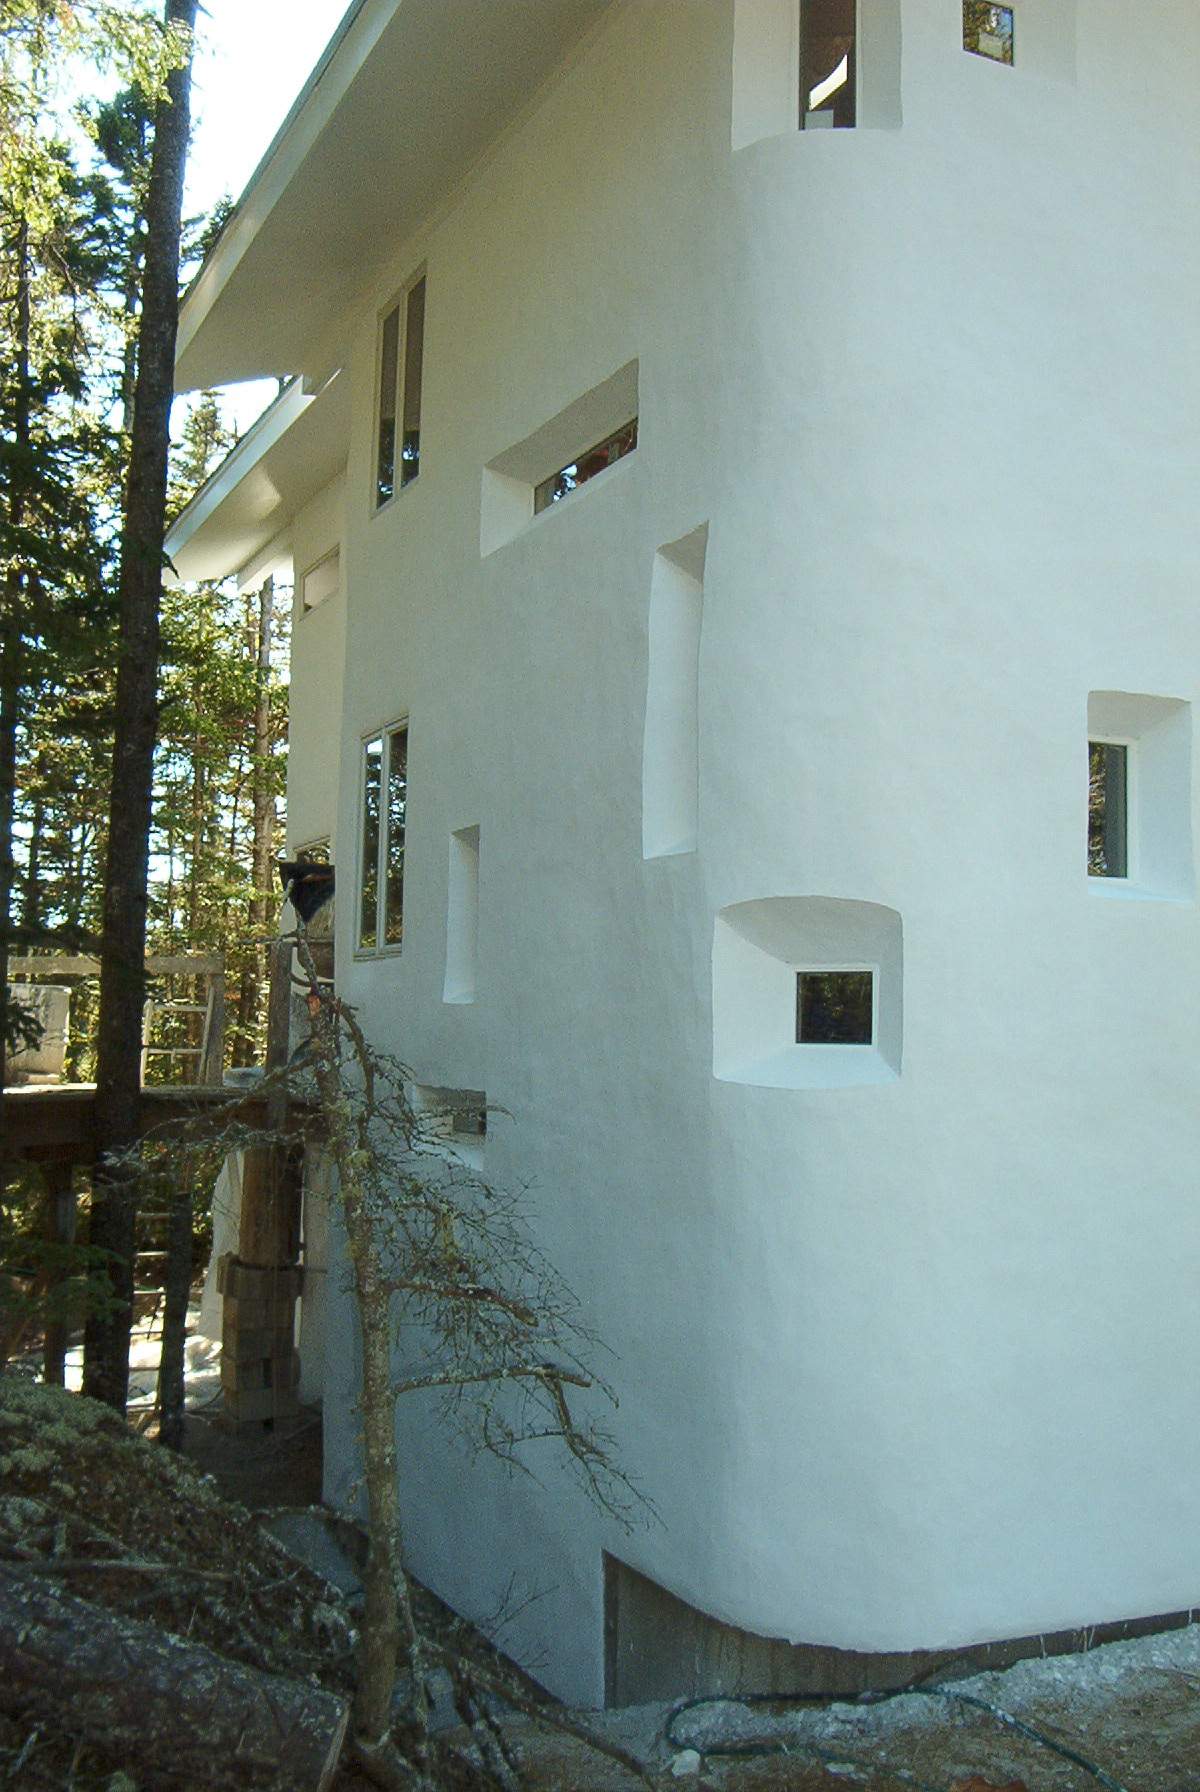
Completed exterior
Patterson Straw Bale Cottage
Beals, Maine
Started 2001
| The files for these photographs are fairly large, so |
Completed exterior |
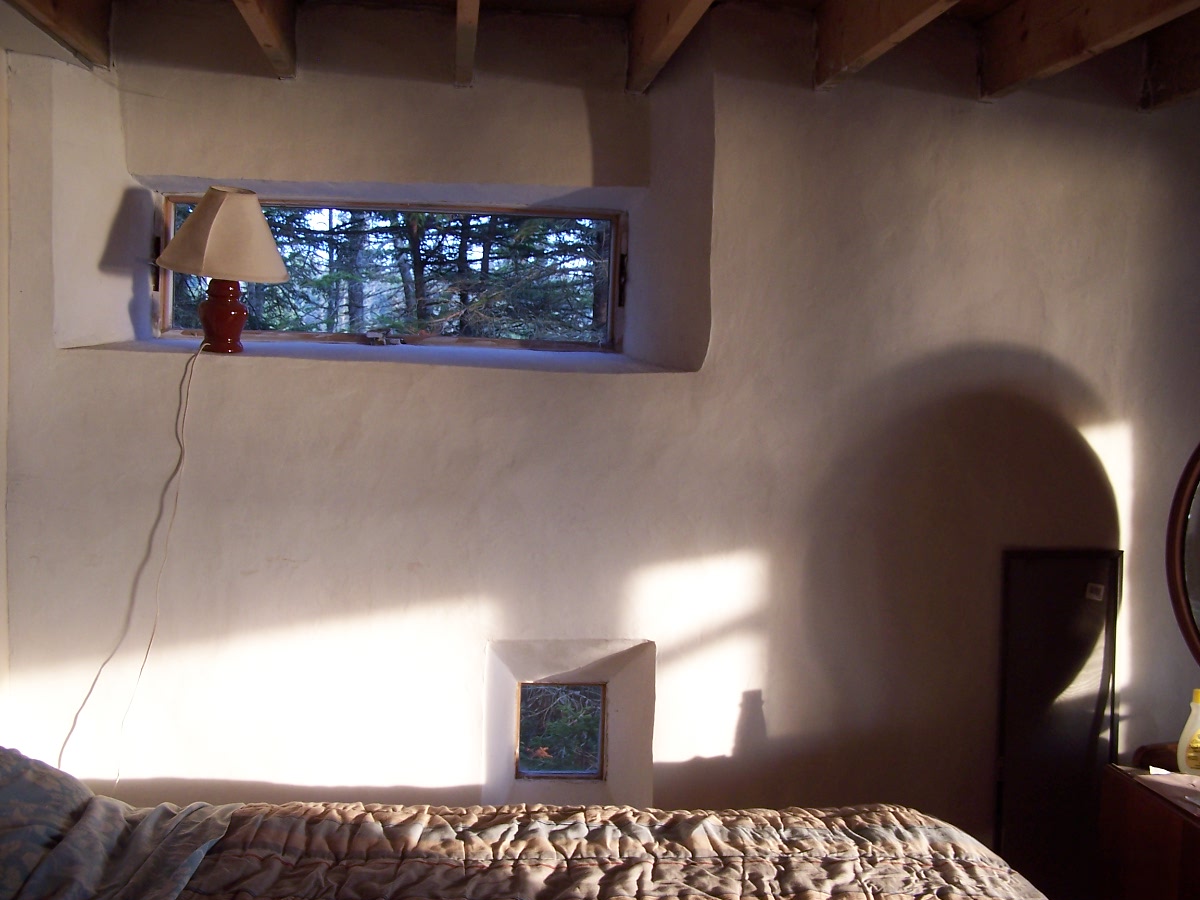
Master bedroom near the end of construction.
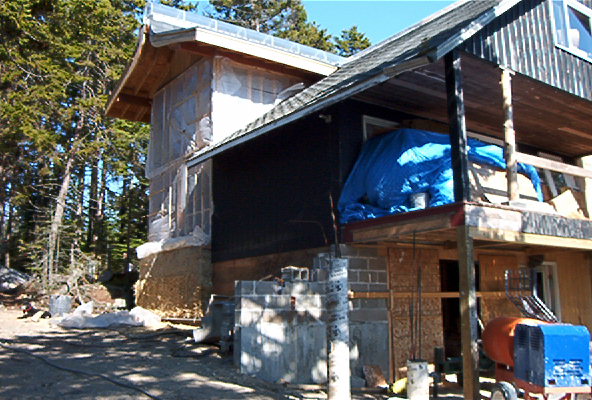
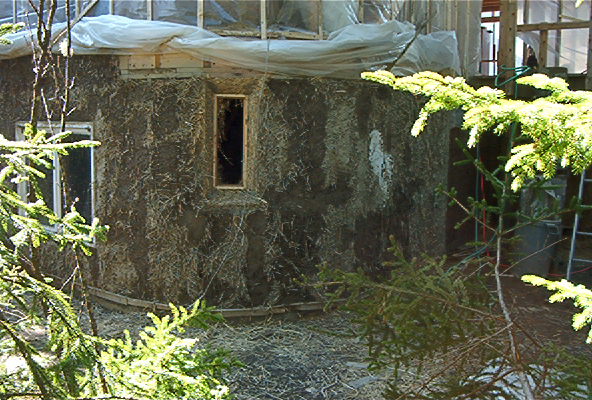
This shows the old portion of the cottage on the right and the new part on the left in the early spring 2002. The old cottage was moved onto the new foundation in 2001. The new part was covered with plastic during the winter while it awaited the straw. The gold color of some newly placed bales is visible in the basement level of the new portion.
The same end of the house as it looked in the Fall of 2002. Pictures which follow show the stages between these two and beyond.
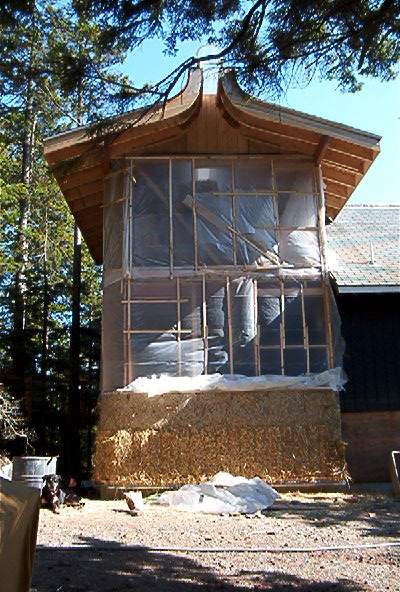
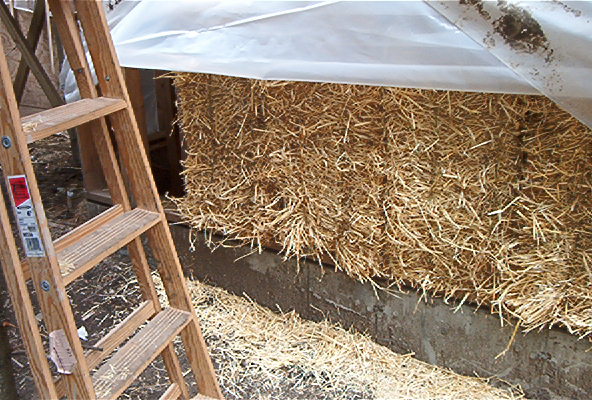
A closer view of the straw bales put in place for the basement wall.
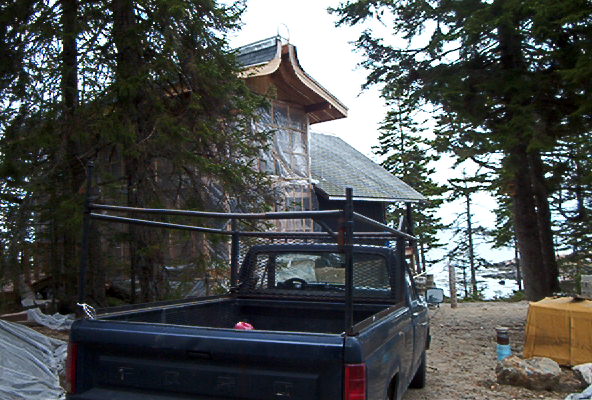
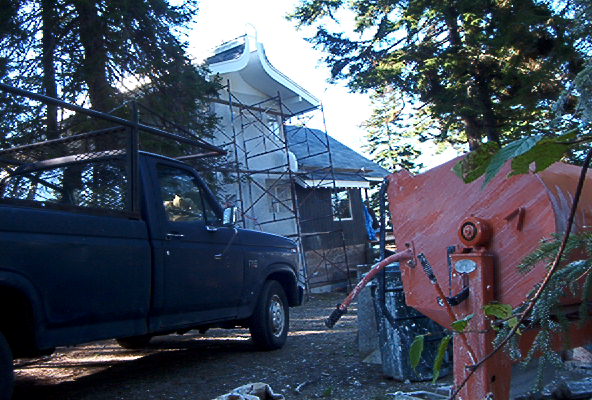
Trees were left very close to the house.
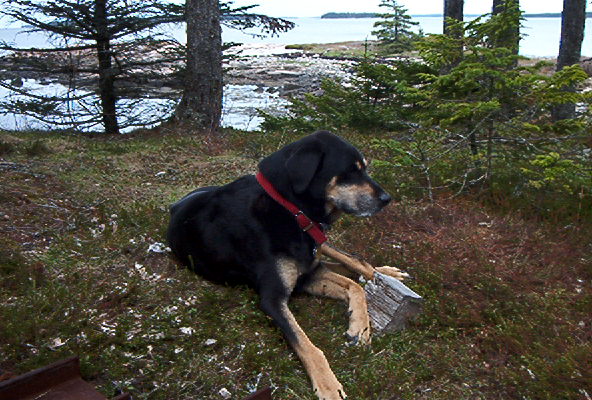
John's dog, Grover, spent considerable time helping us this summer. Behind him is the view from the house toward the ocean.
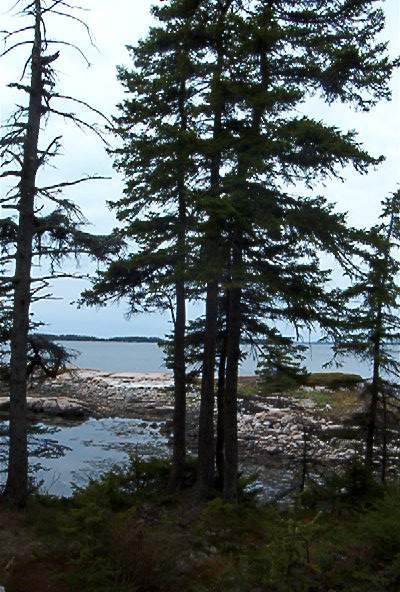
Another view of the ocean on a cloudy day.
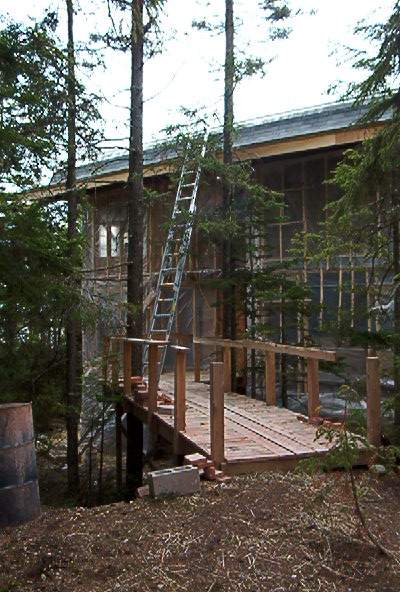
One enters the house via the bridge which goes from the rock outcrop to the front door. One tree is inside the bridge. Here the railing is unfinished and the plastic is still in place of the walls of the house.
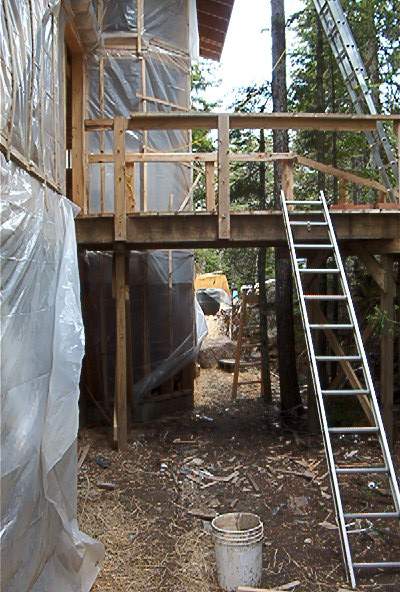
A view of the bridge from below. The front door will go in the opening on the left.

Here we were preparing to construct the skylight in the curved roof. It is one foot wide and 48 feet long over the guest bedroom, hallway and bathroom. Wall do not have bales in place yet.
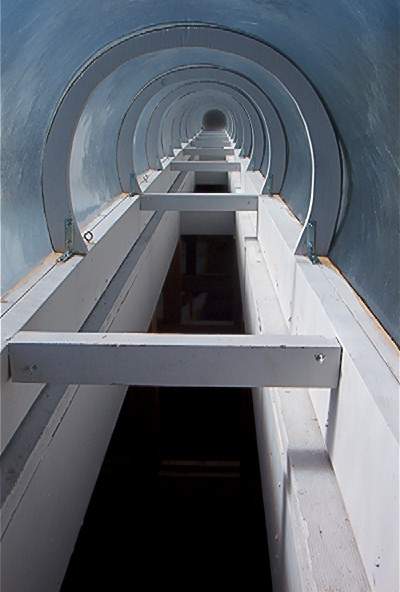
A view of the skylight from the end of the house. The skylight itself is a translucent fiberglass material.
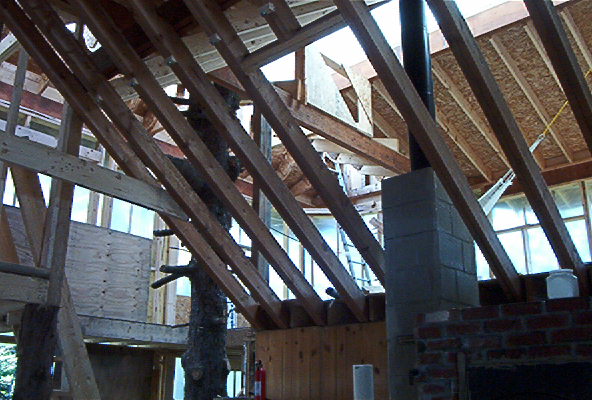
View of the inside of the house while it still had plastic for walls. The rafters in the foreground will remain visible so one can see between the upstairs and downstairs. The tree which will support the circular staircase is also visible. It was cut down on the house site and then placed in the house before the roof was completed.
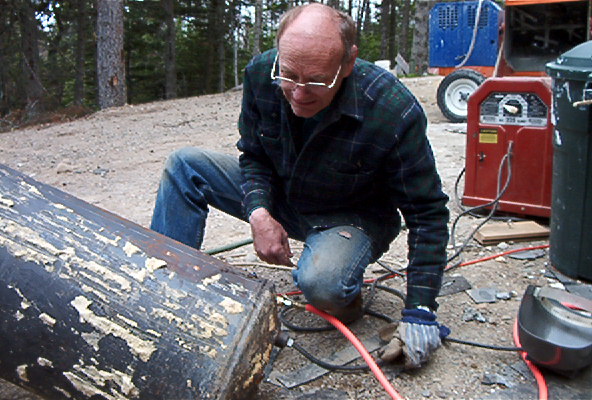
We decided to develop a method to pump the clay and lime plaster on the bales. Here I'm welding the discarded hot water tank which is to be the pressurized for blowing the clay and lime plaster.
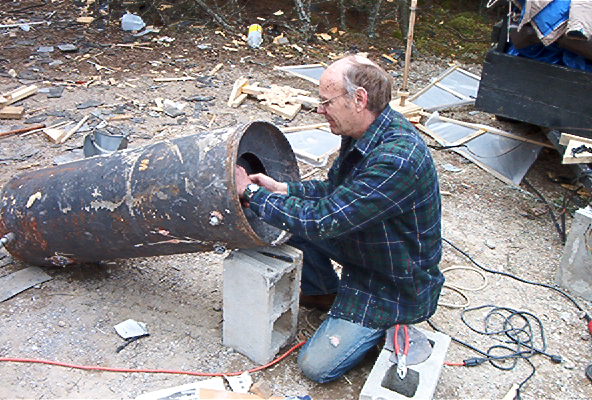
Finishing the opening where the lime plaster or clay is dumped into the tank.
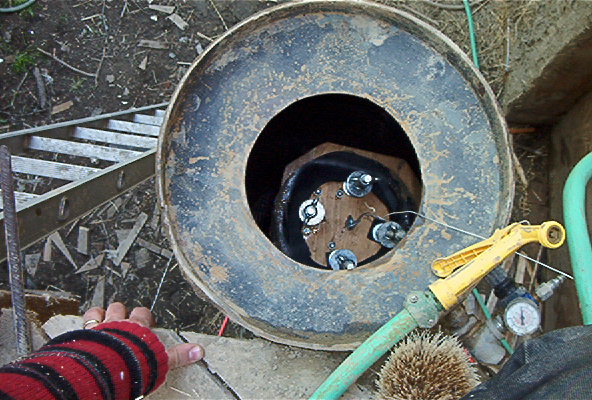
The tank is in place with its pressure retaining lid visible inside. We experimented considerably before getting a workable system. Click here for a text description of the pump.
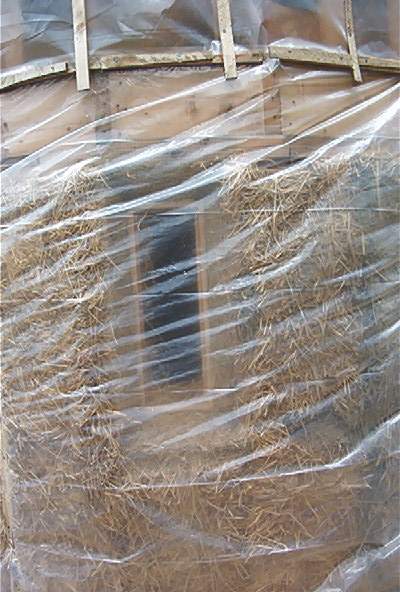
When we began placing bales between the studs we covered them with the plastic when we were not working so that they would not get wet. One of the small ("funky") windows is visible here. The bales around it have not been given their final shape at this point.
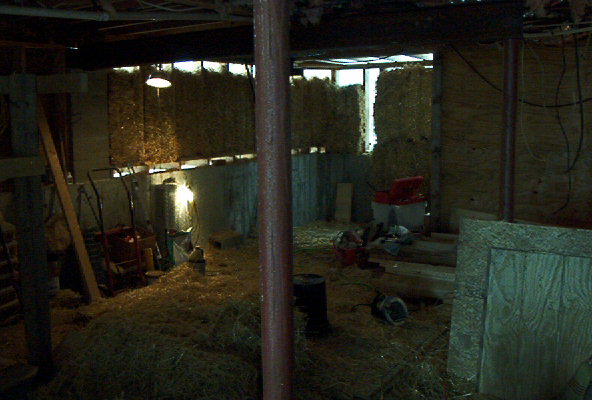
A view from inside the basement of some bales just after they were put in place. You can see how they sit between the studs. Bales will be resized and placed above those shown in order to fill the few inches left above each bale. Lots of straw on the floor at this stage!
Typical straw bales just after placement.
Straw was everywhere.
The first area where we blew the clay "slip" onto the bales. We have added clay-straw filler to begin to make the surface smooth. It is the darker material in the picture. The same funky window as seen above behind the plastic sheeting is shown here. By now wire has been placed around it to support the straw which shapes the deep angular sides of the window.
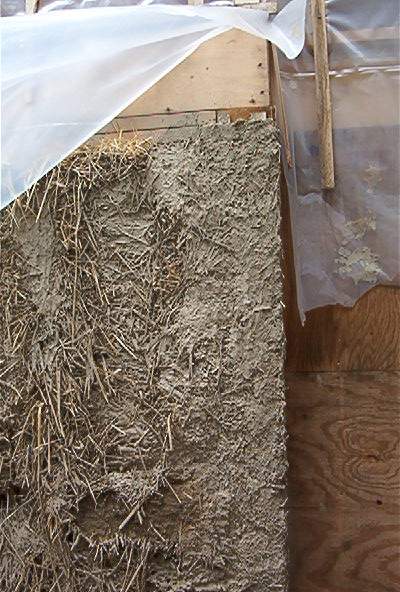
An area of straw wall covered with the clay slip. The smoother clayed area on the right is over wood lath at a corner which could not have a bale because the studs were there. Clay-straw mixture was paced on areas like this by hand.
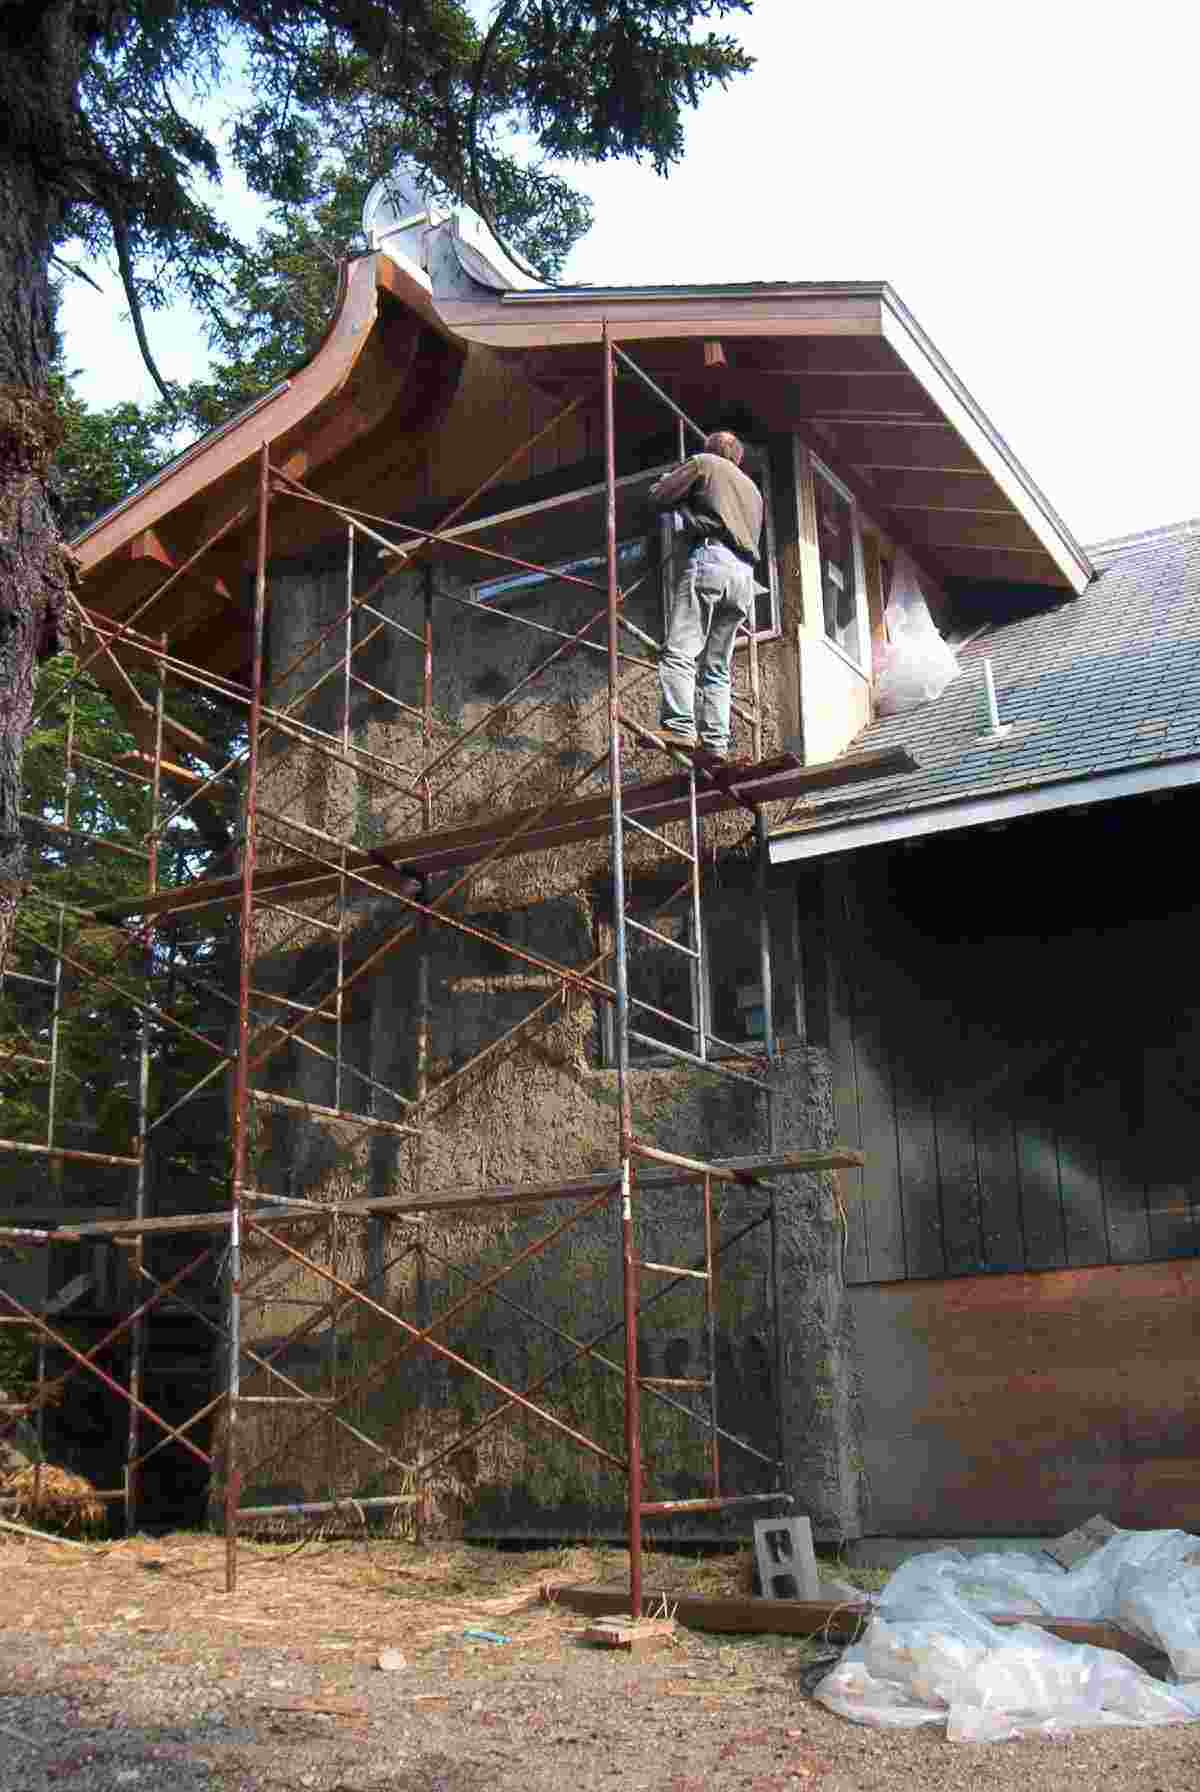
Basement and two floors with their bale walls sprayed with clay slip. You can see the mud which missed and got on the black wall beside the bale wall. Scaffolding was placed all around the walls so we could reach any part as needed.

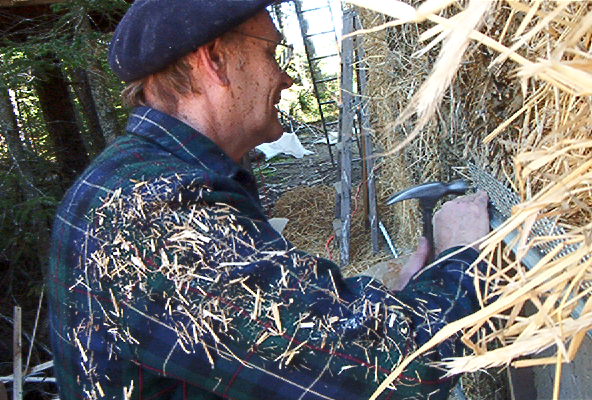
John, who helped during several periods when he could come.
At this point the bales have their three coats of lime plaster. They subsequently got 4 coats of lime wash. The mortar mixer in the foreground was used to mix the lime putty.
Lime plaster is a very old technology. It is just lime and sand - no cement. It is not as hard as stucco but it "breathes", which prevents water from collecting behind any cracks in the wall so the bales will stay dry. Lime plaster hardens very slowly over weeks, unlike stucco. Older European and Greek buildings often used lime plaster.
One of the deep windows. The lime plaster is not very white here, after one coat of lime wash. The windows are covered with plastic for protection.
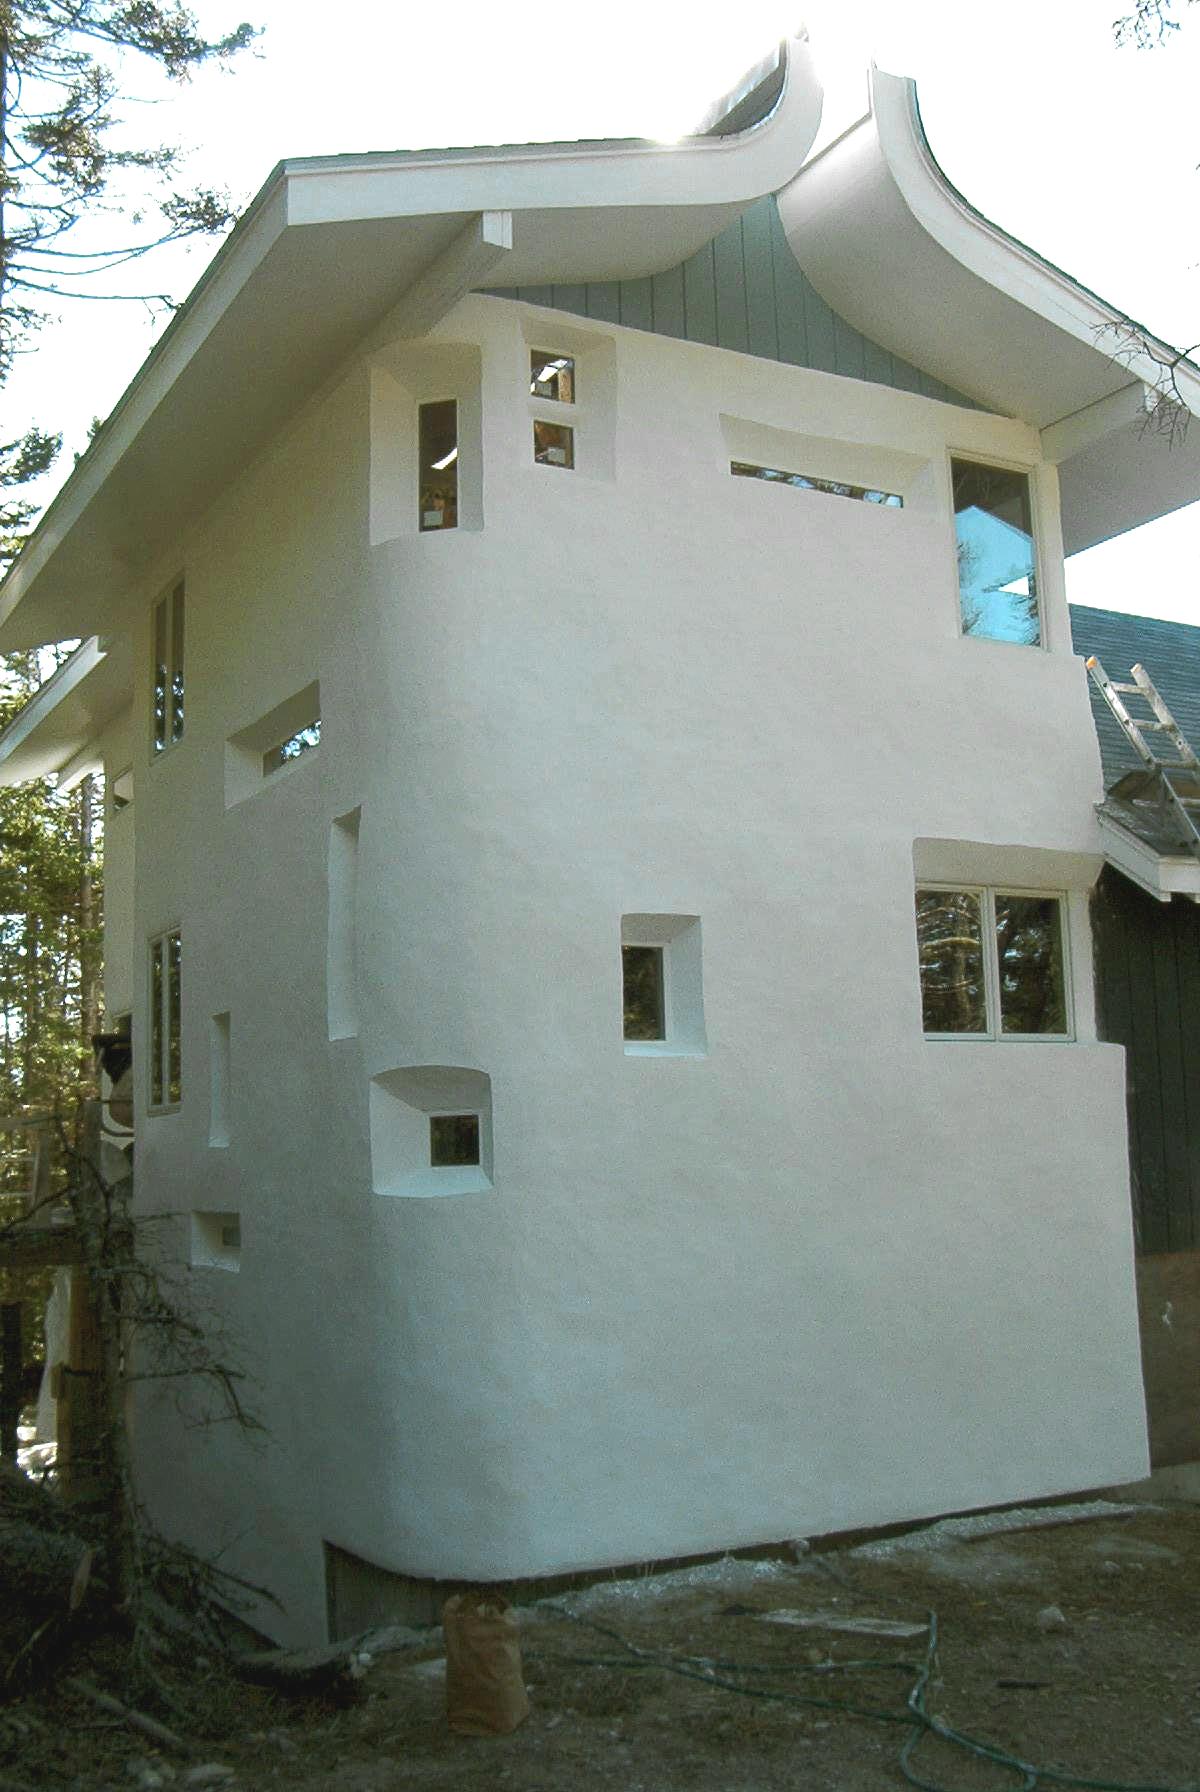
Several of the funky windows are seen. The lime wash is on, the windows cleaned and painted and the scaffolding has been removed.
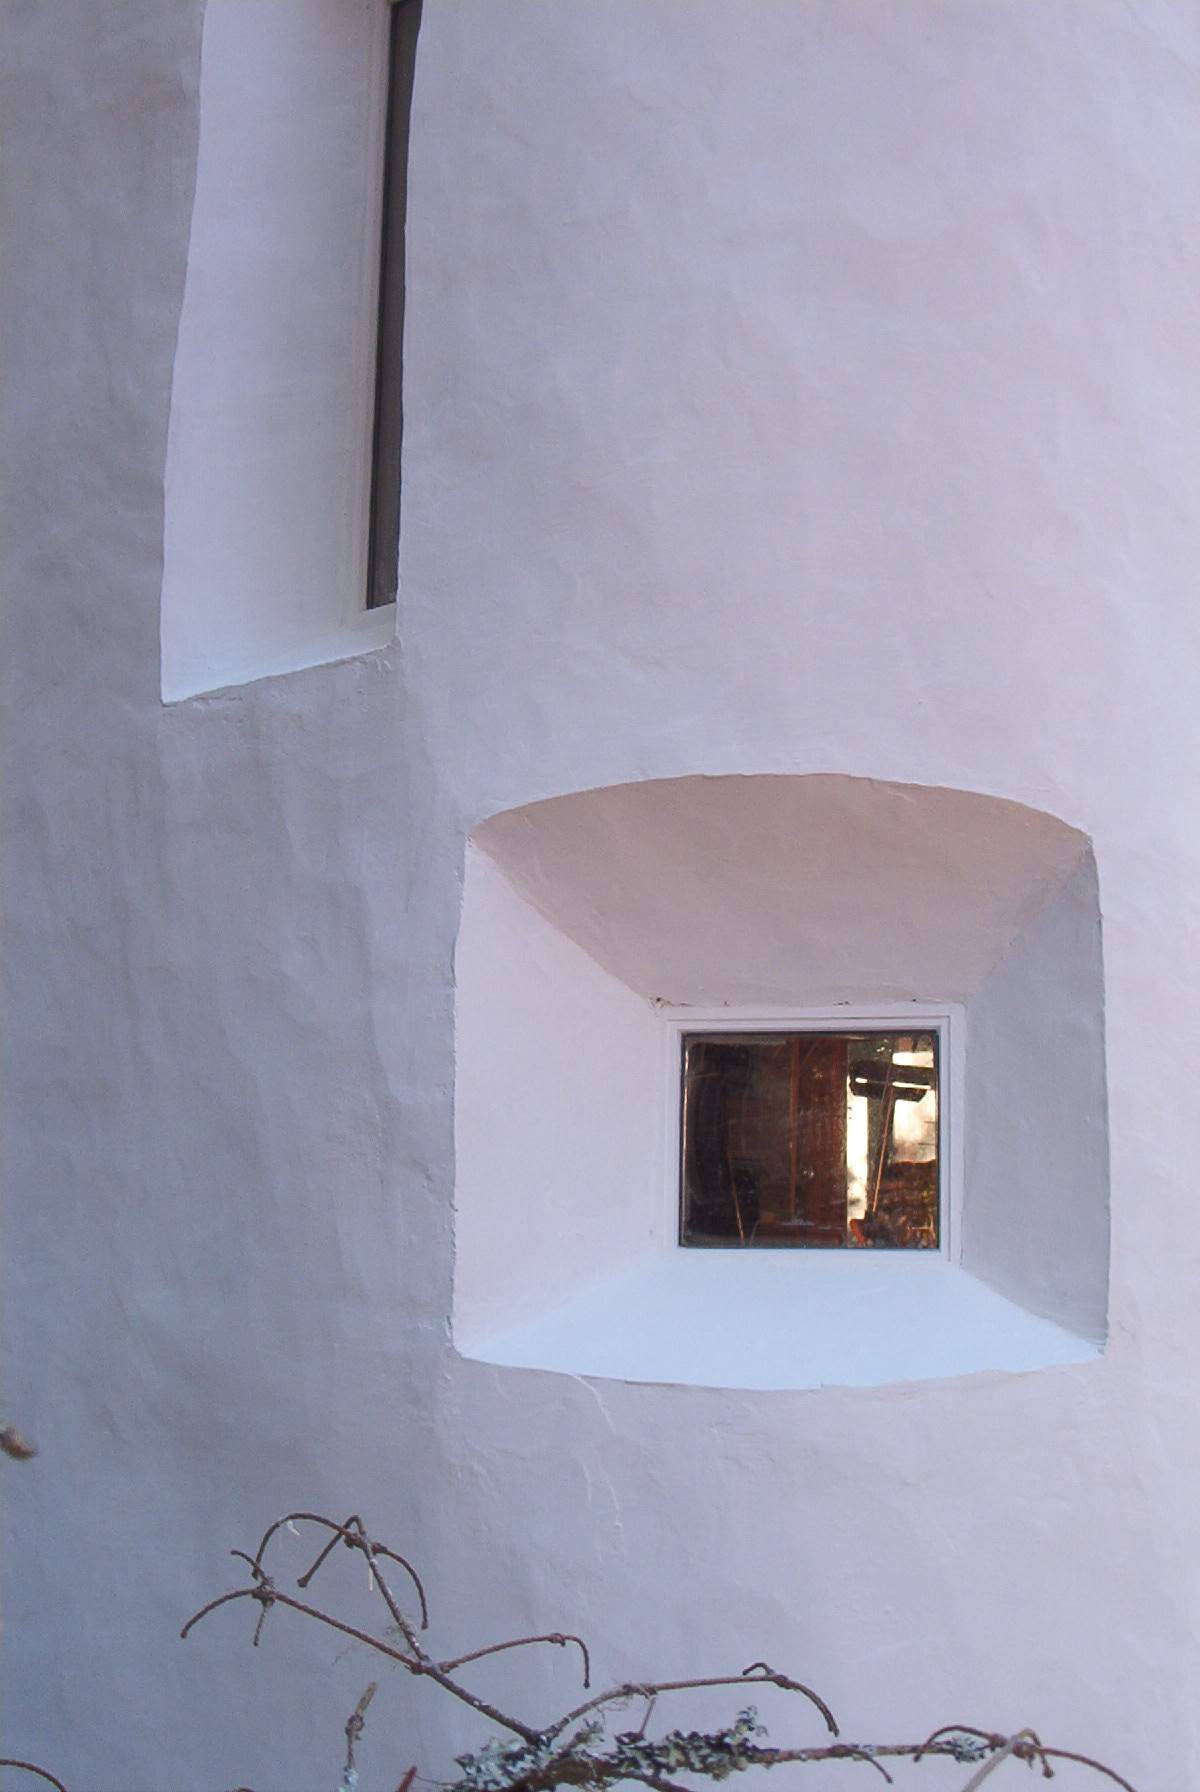
Close-up of funky windows.
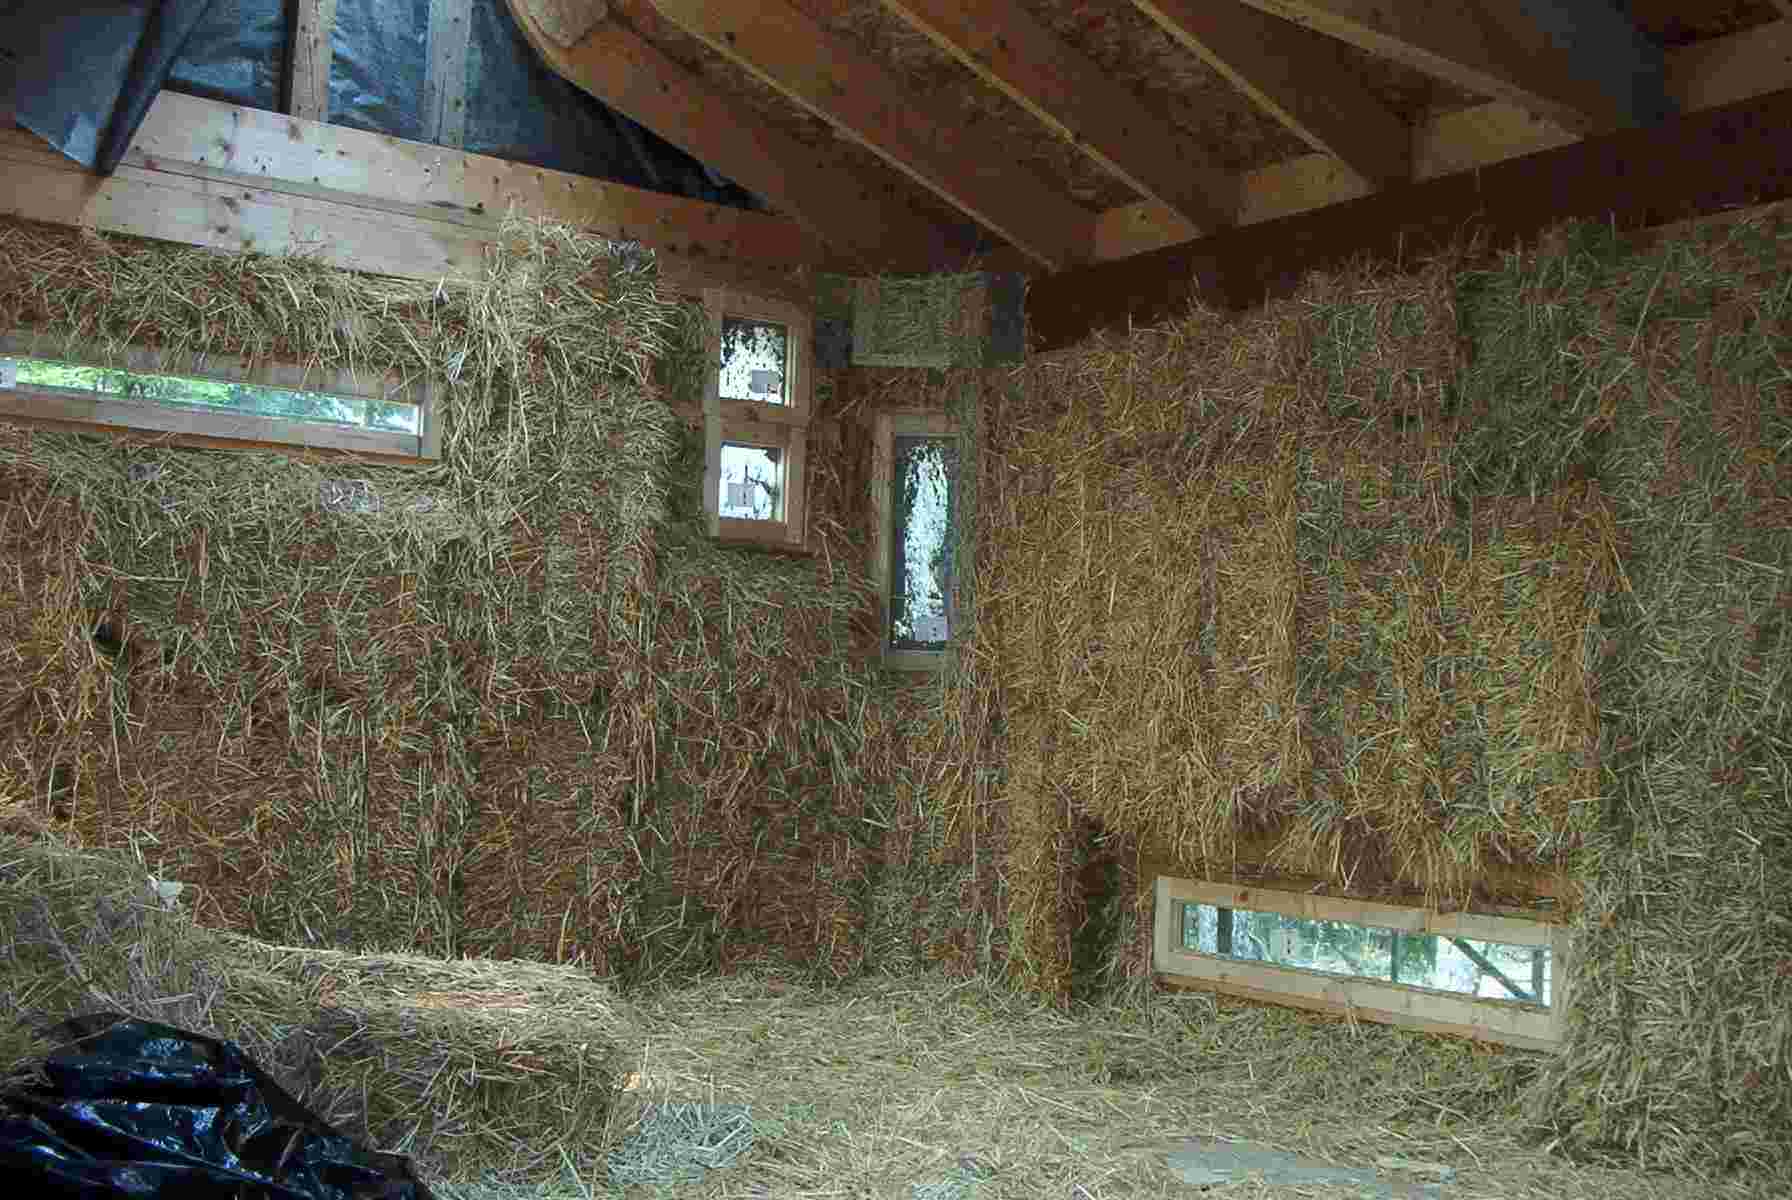
The guest bedroom with the curved roof and the unfinished bales. Funky windows are all over the place. These rafters will be hidden when finished.
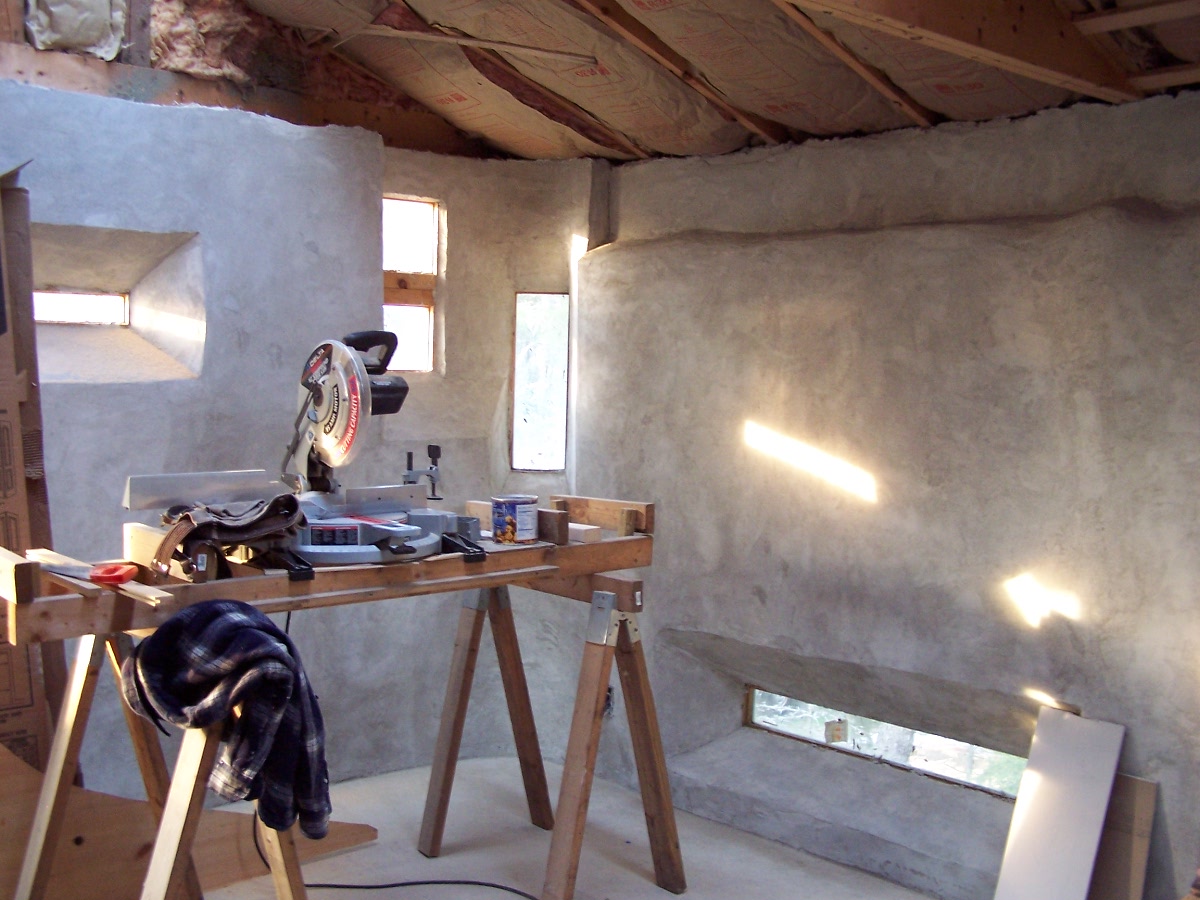
The same wall as above with plastering completed but not lime washed.
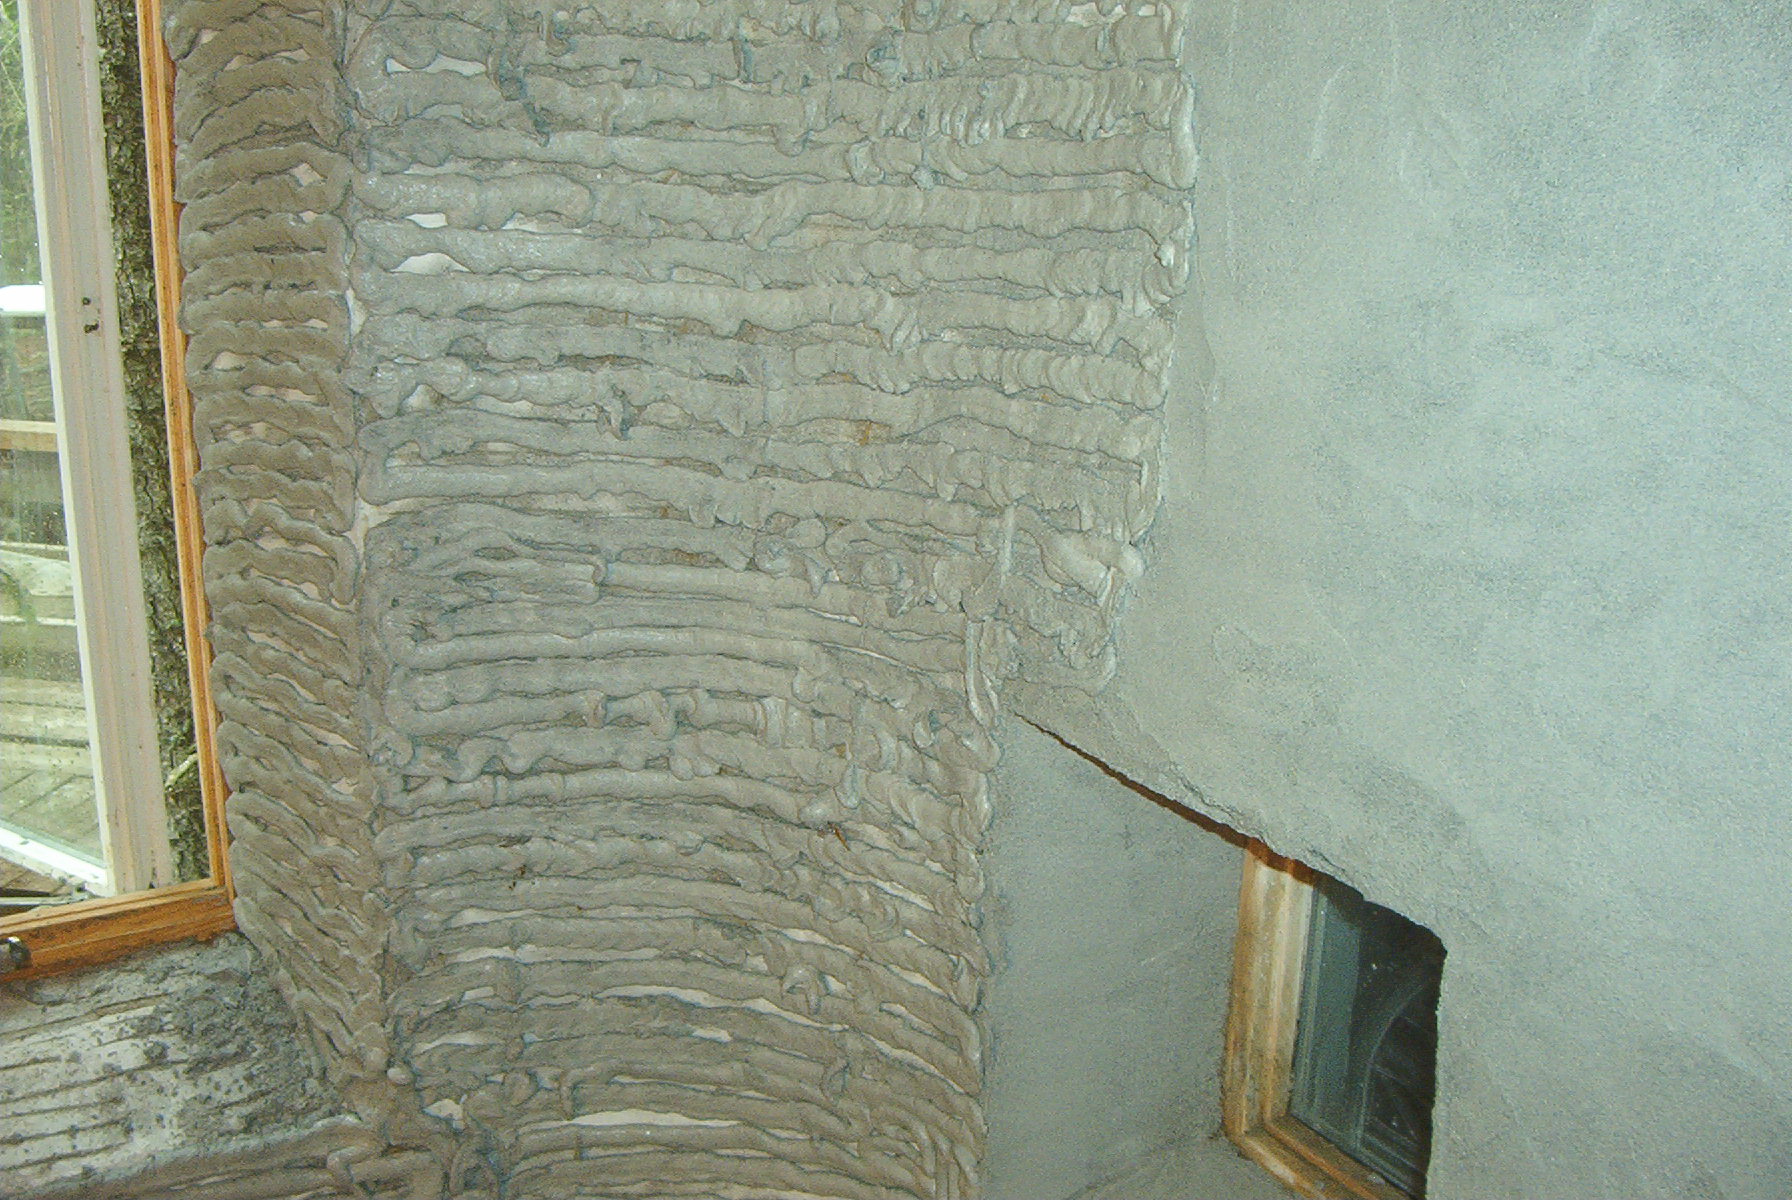
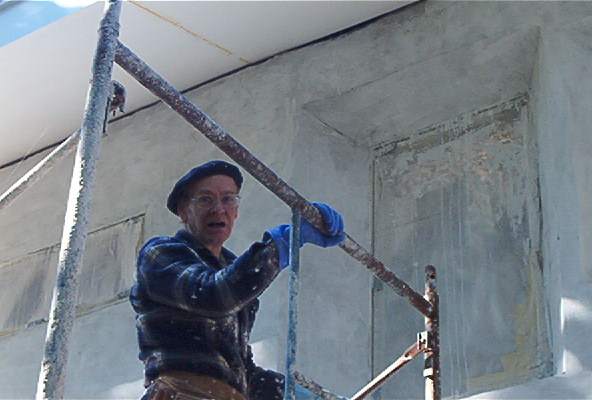
An inside wall getting its second coat of lime plaster blown/layed on the wall with our pressurized system. It flows on like toothpaste. The nozzle is held close to the wall and moved along as the mortar flows out.

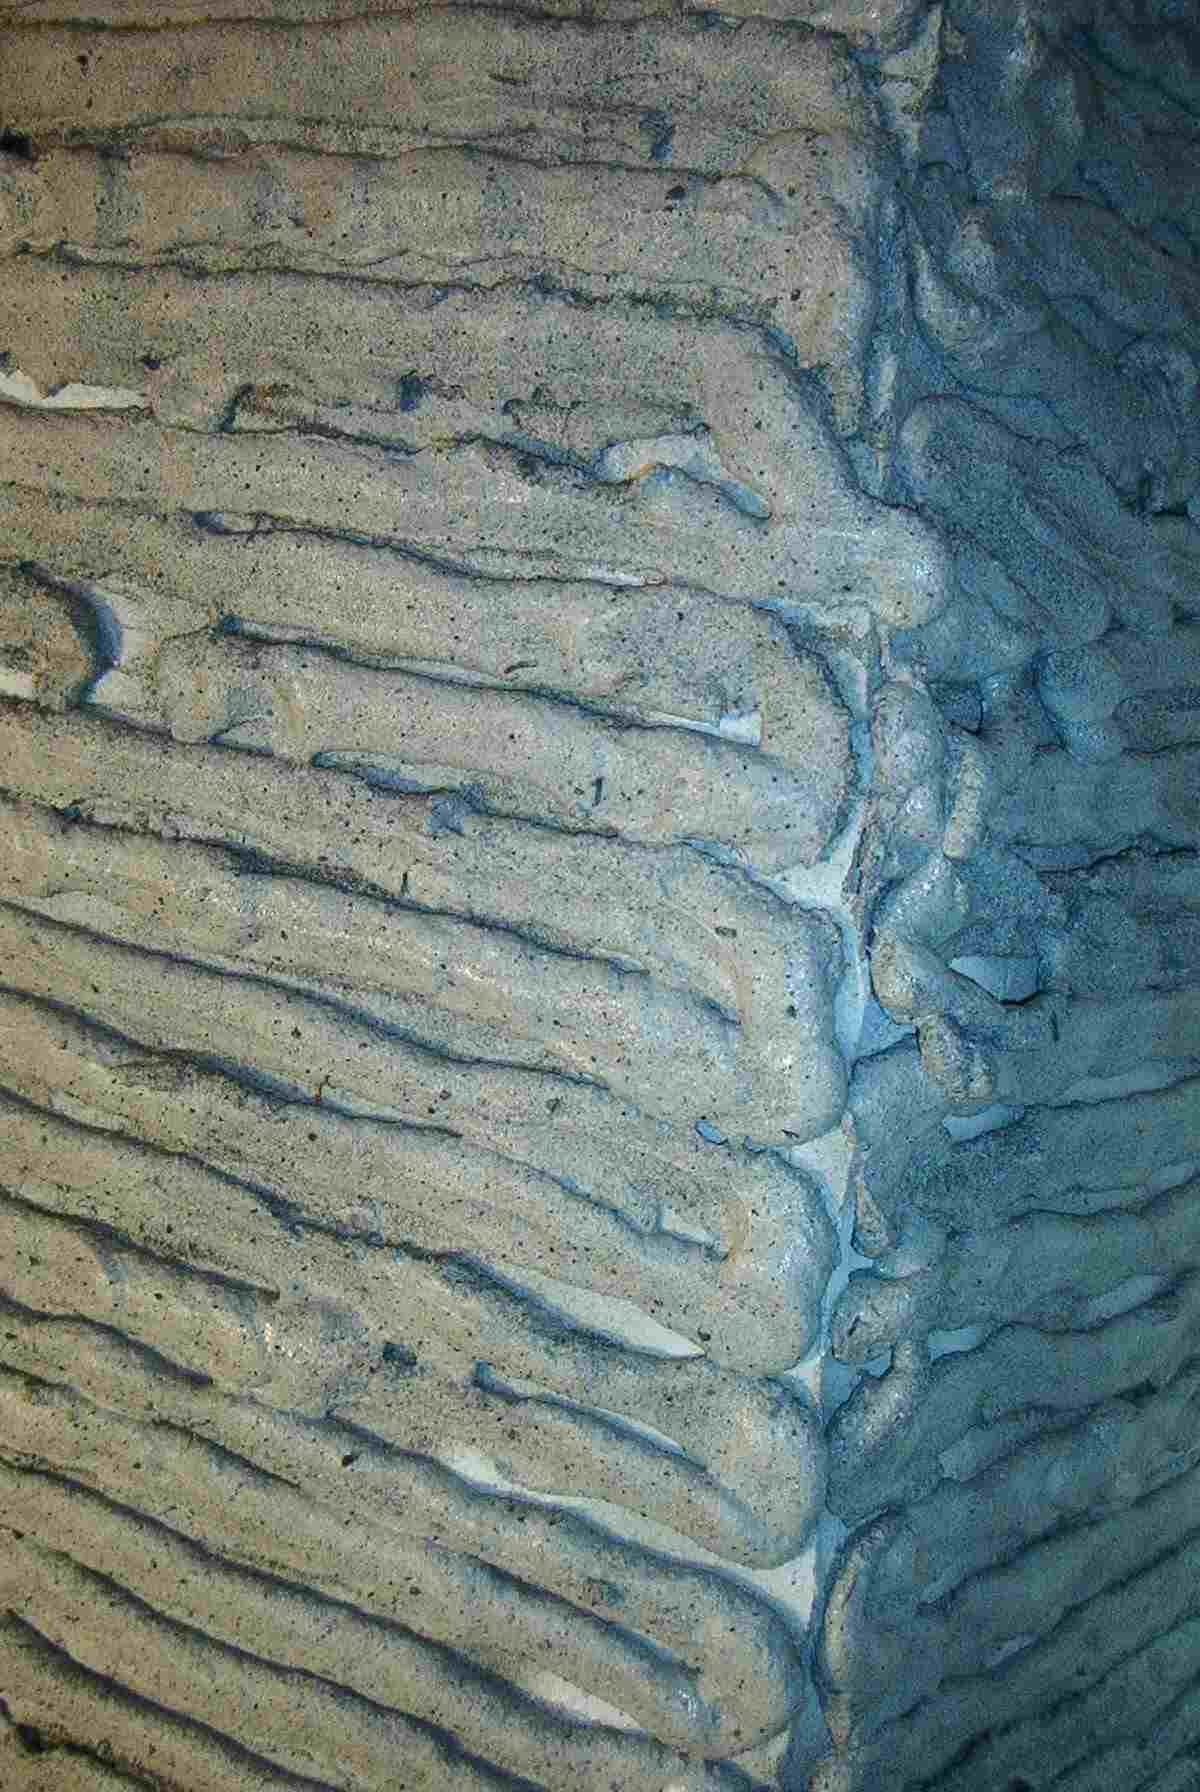
Close up of the same wall. A trowel easily smoothes the mortar.